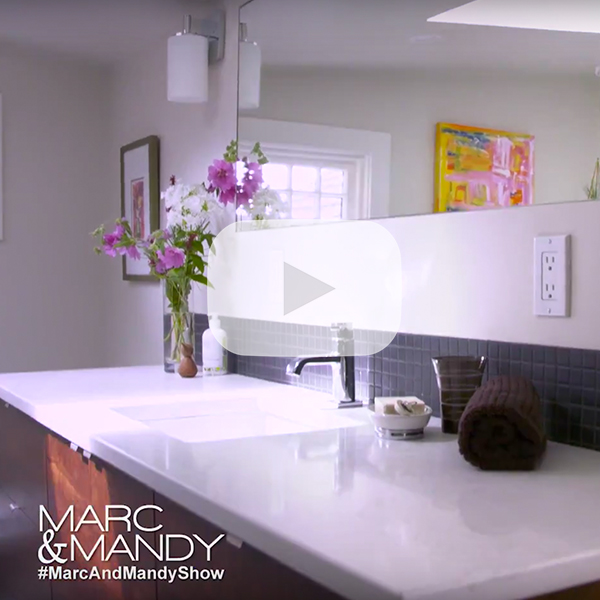
In bite-sized blog posts, we’ve covered how to find and hone your inspiration images to share with your renovation team, layout basics, cabinetry options & detailing, countertops, backsplashes, flooring, lighting, appliances, and last but not least, your sinks and faucets. Today will be the last post of this series and I figured that we should talk about what to expect with the typical flow of the design and then the construction process.
There are different levels of service depending on the full scale and scope of your project and who you work with.
Design Process:
- Architects generally do larger construction projects vs a small kitchen or bathroom renovation.
- Some Architectural Designers only do the drawings of the house itself for permit submittal while others can help you with a bit more detailing but don’t generally help you choose tile or other finishing items.
- Interior designers often only do the finishing items – for interior and/or exterior materials, finishes, fixtures, furniture placement, colour selections etc. There are some who do both drawings for submittal and interior design packages but many others help only with material selections or decorating so you’ll want to consider what level of service you need. Ideally, they will put together a fixture and material schedule together for you and your contractor to reference.
- If you are changing the structure of your space, a structural engineer will be required and is usually engaged by the person who does up your plans.
Each firm will have their own system but generally the high-level design process is this:
- Initial consultation – bring your ideas, your must-have and wish lists, and any other previous leg work you have completed to date and an idea of your budget.
- Your design person/team will note all those details, ask questions, provide some feedback, and share ideas. They will also take measurements, photos, and generally get a feel for how you live now and plan to live in the new space.
- They then go off to complete design concepts for approval and provide drawings for review and hone the design until you are happy and excited about with the final vision.
Your contractor may be able to assist with the design process as well.
We are a design+build firm and for our clients, I often will bring an architectural designer on board to help get the drawings and documents we need prepared for the whatever area we are working in. If the project is for a kitchen or bathroom only (vs a whole floor or a house) I provide a preferred vendor list to help them locate the things that they have identified as part of their overall look. We also offer feedback and assistance to clients as needed.
On a side note: If the project scope as a whole includes multiple rooms or floors, I often find that having a good interior designer on board helps to have a harmonious look and feel to the home.
The contractor, armed with your plans and design information, can then provide you with what they feel the project will cost. We offer fixed price contracts but a time and materials contract is also an option that some contractors employ. It is one that requires a supreme level of trust in them as you may not know beforehand how much the project may cost at its conclusion so I find our clients prefer the fixed priced option. An honestly, I prefer it as well as there is less minutia level tracking.
You will have a completed design, know how much the project will cost, documentation has been submitted to and approved by the city and they have issued your permit – assuming they were required for your project. It’s time to kick off your project.
What should you expect from the construction process?
Phase 1 – Preparation
- Protect site/site preparation:
- Clients to participate by removing their belongings and any soft surfaces in the work area, or adjacent areas.
- Remove cover plates, doorbell covers.
- Front or back door protection, RAM board to protect floors, walk-off mats at entrances.
- Protect landscaping.
- Temporary plastic doors to keep dust in the construction zone.
- Tree protection.
- Posting permits in the window.
Phase 2 – Demolition
- Demo – disposal & recycling – this is the “oh things just got real” stage…
- Additional site protection if required (i.e., cover openings or roof)
- Examination/assessment of space for unexpected issues (knob and tube wiring, weird insulation, framing issues, rot etc.)
- Communicate plan/costs if any for the unexpected items, revise schedule if needed.
Phase 3 – Rough Work
- Framing changes, new window/door installs if any, roof repairs.
- Possibly engineering review/sign-offs for structural work as needed.
- Rough-ins for electrical and plumbing.
- City inspections for electrical and plumbing rough-ins.
- City inspection for framing and sheathing.
- Insulation installation if applicable.
- City inspection for insulation, vapour barrier.
- Last checks for anything in the wall – add blocking prior to drywall phase.
- Drywall (clients hate this step as it’s so dusty) – install, mud/tape/sand to paint ready finish. This step is when people are usually getting tired of the disruption and when the space, after being so open, feels more like a room again.
Phase 4 – Finishing Work
- Exterior finishing – siding, trim, stairs etc.
- Paint – prime and 1st coat
- Flooring
- Cabinetry install – now we’re all getting excited for the finish line!
- Countertop measure
- Trim install – base, door/window casings
- Waiting for countertop fabrication
- Countertop installation
- Backsplash installation
- Final painting
- Electrical finishing: lights, switches
- Plumbing finishing: sinks, faucets, dishwasher
- Appliance installation
Phase 5 – Wrapping Things Up
- Paint touch-ups
- Final inspections: electrical, plumbing, final building inspection
- Address any deficiencies
- Final clean
- Hand over space – yay!
- Client populates the space and celebrates – you made it!
Well, that’s it for this series! You are now armed with knowledge and ready to jump into renovating your kitchen!
For more information, check out our podcast All Things Renovation at www.AllThingsRenovation.com or click on the Podcast page at www.woodbeart.com. The second series of episodes focuses on kitchen renovations.
For photos of our work click on https://woodbeart.com/our-work